Interior Painting
Transform your space with professional interior painting services by Allprodecor
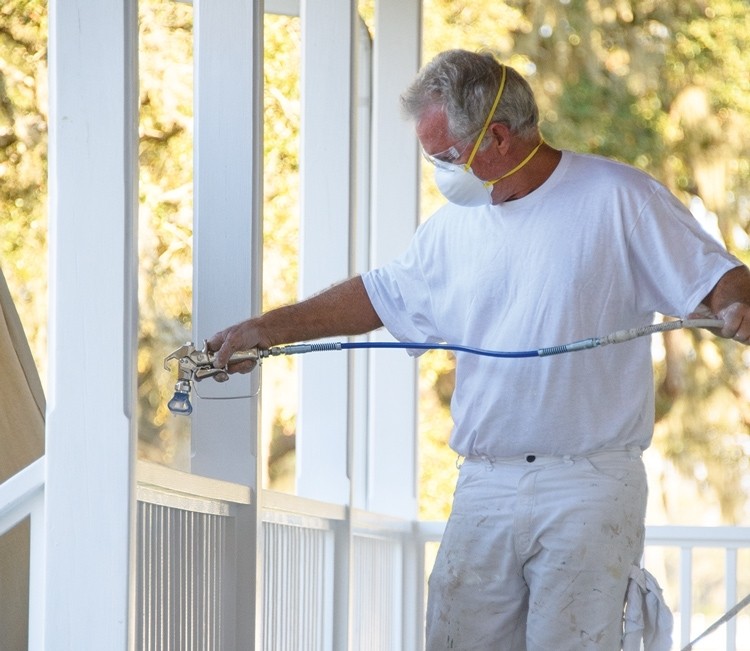
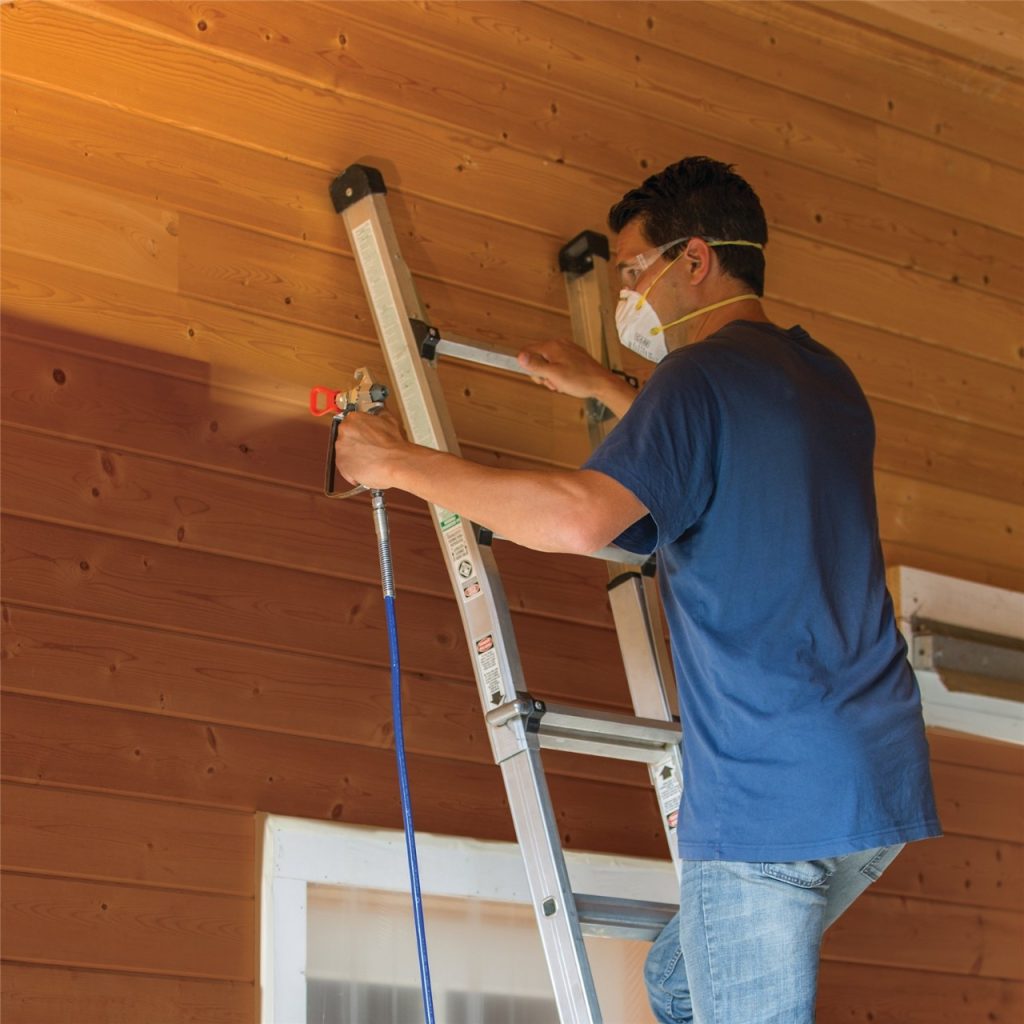
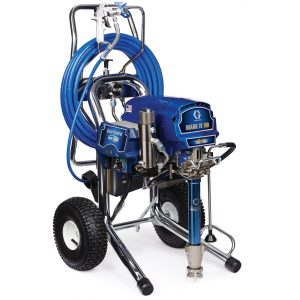
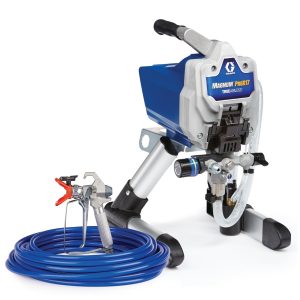
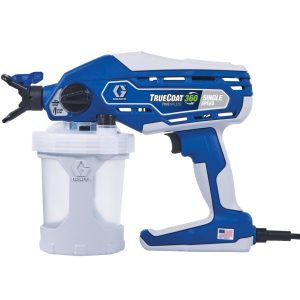
With what we paint – of course, like many professionals, we use only professional tools.
The leader in the paint market is the Graco Professional Paint Sprayer. In our arsenal we have Graco spray guns of different sizes for different conditions.
One of the fastest ways to paint a room is to use an airless paint sprayer. With a Graco sprayer, we can change the look of any room in the house in much less time than if we were painting it by hand with a roller or brush.
This is how we save our time and yours. This is what our clients value us for.
- How to Prepare for Painting
Properly painting a room starts with prep work. Here’s how to prepare a room for interior house painting.
- Start by removing all the furniture and fixtures you can, including all HVAC registers or outlet covers.
- Carefully inspect surfaces for cracks, holes, dents or other imperfections.
- Use caulk or a lightweight spackling compound with a putty knife to fill and repair any holes or imperfections.
- Remove excess spackling with the putty knife. Let it dry completely.
- Use a small piece of very fine 220-grit sandpaper or a sanding sponge to smooth the repaired areas flush with the surface.
- Wipe the surfaces clean with a damp towel or sponge and allow them to dry.
- Wear old clothes and a hat while painting.
- Whenever you start an interior house painting project, make sure you are working in a properly ventilated space. If the paint fumes are strong, wear a respirator mask.
2. Apply Painter’s Tape
The next step in painting a room is to use painter’s tape to mask off your moldings, windows and doors.
- Always press the painter’s tape down flat and even to prevent bleed-through.
- For non-textured surfaces, mask it off where it meets the edge of the wall. Apply your painter’s tape in short, overlapping strips, pressing down firmly along the edge.
- If you have a textured ceiling and are painting only the walls, simply run a screwdriver along the edge of the ceiling to create a small, unnoticeable, texture-free surface. This will make creating a straight paint edge much easier.
- If you’re planning on having an accent wall, mask off the inside edge of that wall from the rest of the room.
3. Spread Drop Cloths
Cover the floors with drop cloths to protect them from paint drips and splatters. Relocate smaller pieces of furniture and cover larger ones with drop cloths.
- Canvas drop cloths are extremely durable and absorbent, so they can be reused.
- Plastic drop cloths are durable and less expensive but not absorbent, so spills are more likely to be tracked if stepped on.
- Paper is the most economical but can tear easily on floors. It is better for covering light fixtures, cabinets and furniture.
4. Prime and Paint the Ceiling
Prime and paint the ceiling first, then your walls.
- Primers are designed to help seal the wall and prevent mold. Use a roller to prime the ceiling with a coat of latex paint primer, especially if your ceiling has stains. Use interior latex drywall primer on a smooth or lightly textured ceiling and a high-build primer on a ceiling with a deeper texture.
- Allow the primer to dry completely according to instructions.
- Before applying the paint with rollers, use a paint brush to “cut in” or paint the edges where the ceiling meets the wall. This will ensure the paint will cover areas the roller might miss as well as conceal any brush marks left behind.
- The best way to paint a ceiling is to use a paint roller and work in grid-like sections of 3 square feet to 5 square feet each. This helps keep edges wet and allows you to see your progress to ensure an even coat.
- For smooth ceilings, use a low nap roller. For a textured ceiling, use a roller with 1/2-inch or 3/4-inch nap.
- Regularly use the paint tray to load the roller with ceiling paint and roll slowly.
- Begin rolling when the paint cut line is still wet.
- Start in a corner and roll in overlapping rows.
- Do not roll directly over your head.
- Slightly vary the direction of your rolling, as a perfectly straight roll may show overlap marks. Continue until the section is done.
- Continue applying paint, rolling out and blending with the cut-in edge and the previous section until the ceiling is complete.
Tip: Wipe any drips or spatters immediately with a damp rag.
5. Prime Your Walls
Apply primer before painting the walls. A primer is essential if you want to go from dark walls to light or white walls. Many brands offer paint and primer in one.
- First, use a paint brush to “cut in” 2- to 3-inch bands around the edges, corners and frames of a room.
- When cutting in, you can try to do the entire room at one time. However, your border areas will probably dry before you overlap them. This may result in a slight difference in sheen because the two coats won’t blend.
- Fit a roller cover onto your paint roller.
- Pour the primer paint into a paint tray.
- Dip your roller into the paint, making sure it’s completely covered. Pass the paint roller over the ridged area of the paint tray a few times to remove excess paint.
- Start painting the primer in 3- by 3-foot sections. With a fully loaded paint roller, work top to bottom, rolling back and forth across the wall in a series of V- or W-shaped strokes until the section is covered.
- Roll in one section at a time, moving from top to bottom and from one side of the wall to the other.
- Reload your roller and paint the next section, covering only as much as you can finish while the primer is still wet. Always overlap areas of wet primer.
Tip: Primers can be tinted at your local store to closely match the color of your paint. Since primer is less expensive than paint, a tinted primer may lower your painting costs.
6. Sand the Primer
After the primer dries, lightly sand away bumps and ridges using very fine grit sandpaper folded into quarters.
- When the grit of one section of sandpaper becomes covered with dust, switch to an unused section and continue.
- Wipe the wall clean with a damp towel or sponge and allow it to dry.
- Gather your tools and wall paint.
7. Paint the Walls
Paint walls one at a time. You’ll achieve a smoother, more seamless look by blending the wet paint you’ve brushed on with wet paint you’re rolling. This is one of the best painting techniques for walls and is called “working to a wet edge.”
- Working top to bottom, roll back and forth across the wall in a series of V- or W-shape strokes until the section is covered.
- Before reloading your roller and moving to the next section, roll over the area you’ve just painted in a smooth, continuous stroke from top to bottom. These smoothing strokes even the coat and help to cover up lines and tracks.
- Overlap areas already painted. Lightly lift the roller off the wall to avoid leaving end marks and to seamlessly blend different areas.
- Frequently remix your paint using a mixing stick or a paint mixing tool. You should do this any time you leave your paint sitting for an extended period of time.
- Wait for 2 to 4 hours for the first coat to dry before applying a second coat. Follow the exact same process and techniques used when priming your walls. Blend your sections as you go.
8. Wrap Up and Clean Up
Take the following steps to clean up.
- Remove your painter’s tape right before or right after the paint dries completely. If left on too long, small pieces of the tape can tear and leave residue when being removed. Dispose of the used painter’s tape.
- Tightly seal the remaining paint in cans.
- Thoroughly clean paint brushes and rollers with warm soapy water.
- Remove drop cloths and put furniture back in place.
Trust Allprodecor for all your interior painting needs. Contact us today to schedule a consultation. Experience the difference that Allprodecor brings to interior painting and let us exceed your expectations with our exceptional service and craftsmanship.